Overstock Integration
1. How to setup the Overstock integration
- This article will show you how to set up the Overstock integration on Shipedge.
1.1 Contact Overstock’s Support Team
- In order to integrate with Overstock on Shipedge, you will need 2 parameters:
- The API Username
- The API Password
- You can get these parameters by logging in to this link using your Overstock Username and Password.
- It should be noted that the API Credentials expire every 3 months.
1.2 OMS Login
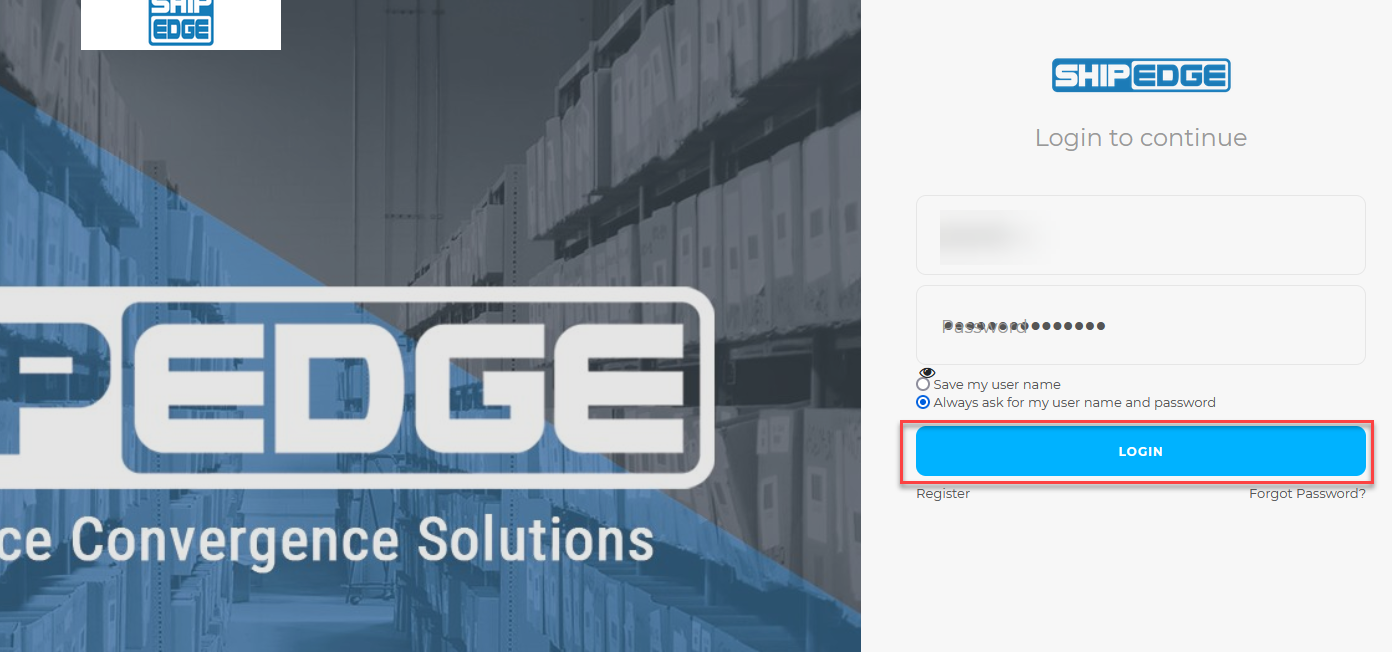
- Navigate to your Shipedge portal and log in with your OMS credentials.
1.3 Navigate to the Channel Automation Configuration
- Hover the mouse cursor over my account.
- Click on preferences from the drop-down menu.
- you will be transferred to the Channel Automation tab.


1.4 Create a new Overstock Integration
- On the Channel Automation tab, scroll down to the Overstock integration from the selling channels list.

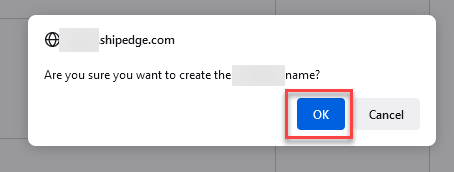
- Click on Overstock and enter your store name (required) then click on add store
- You will be prompted to confirm your action. click on OK.
1.5 Configure the Integration
- Please enter the Username and Password that were provided by the Overstock support team.
- Please enter the Warehouse Name of the warehouse where you wish to import data. The name is case-sensitive. You can leave it blank to import data from all warehouses.
- Overstock API credentials expire every three months.
- Select the Order status of the orders that you want to import to Shipedge.

1.6 Integration settings
- Select the features you want to enable for the Overstock integration.
- Turning on order sync and tracking updates and clicking the get orders button will allow you to check and see if you’ve connected to Overstock successfully.
- We recommend that you don’t turn on inventory sync until you have received inventory in your warehouse to prevent syncing the wrong quantities back to your channel.

1.6 Save the Configuration
- After configuring the integration, click on Save configuration.

Additional Settings :
- After you have successfully set up your integration you can hover over Orders in the main menu and click on Integrations to find additional settings that should be configured or reviewed.
*** If this is your first time setting up an integration we highly recommend you learn more about these additional settings below. *** Here you should link the address verification and residential check article ***