How To Setup a Quickbooks Integration
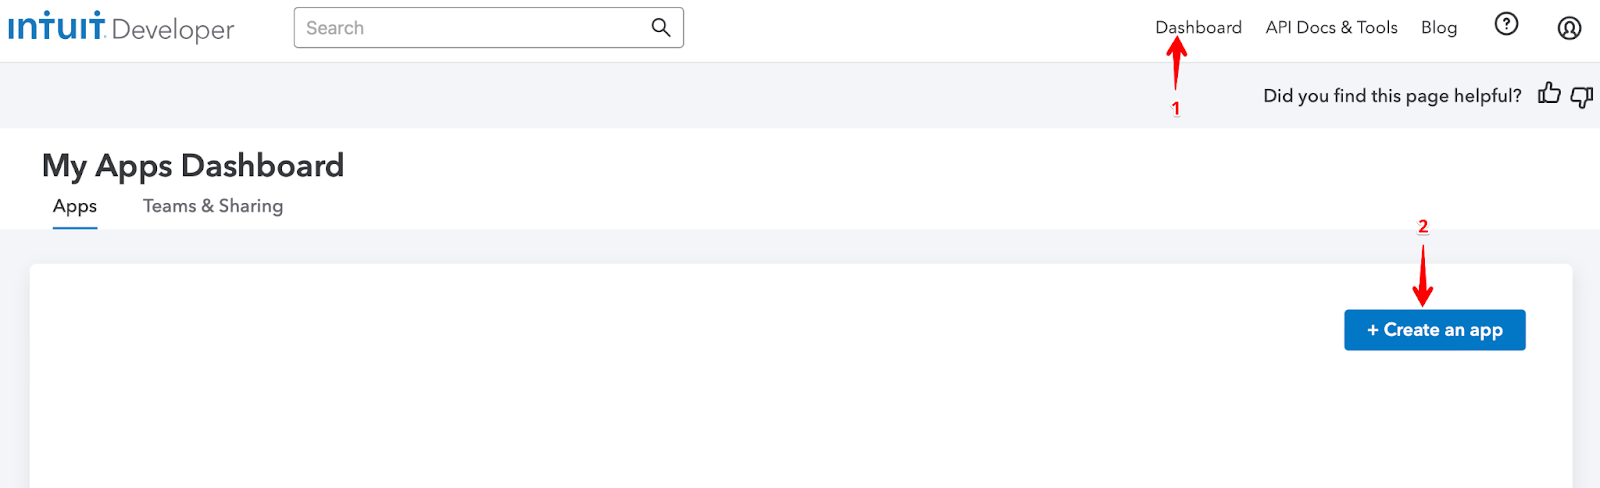
- Log in to your https://developer.intuit.com account -> My Apps -> Create an app
- Select Quickbooks online and payments option.

- Finalize your app name and scope details > Create app

- Navigate to Production -> Keys & credentials -> Fill out Production settings details
- Copy/Paste “https://www.shipedge.com/subscriber-terms/” into Terms of service links and the End-user license agreement Url.
- Copy/Paste the App URLs from your Shipedge OMS account: -> My Account -> Preferences -> API Integration. NOTE: Please make sure to follow the given path to verify your server name. The example given below may not be the same as in your system.


- Select your app’s use case(s) and industries as applicable.


5 Save your Production settings
7. Keys & OAuth, Put URL + quickbooks/connect.php. In this case https://betaintegration.shipedge.com/quickbooks/connect.php NOTE: As mentioned before this link is just an example

In Shipedge
- In your OMS account navigate to -> My Account -> Preferences -> Channel Automation -> Quickbooks -> Connect.

- In this window: make sure all the information is correct -> Create Store

- Click Connect

Now, with our QB connection, you will be able to send order information to QuickBooks to:
- Create Quickbooks Invoice.
- Create customers (contacts).
- Create products within Quickbooks.