Prestashop
Obtaining Store API Credentials (Prestashop)
1. Navigate to the Advanced Parameters tab on the Navigation Menu inside your Prestashop Store.
2. Click on Webservice from the options.

3. Make sure that you have chosen Yes for the “Enable PrestaShop’s webservice”

4. Now in the webservice page, click the “Add new webservice key” button to access the configuration screen.

Each access key is defined by this information:
- Key – The API key serves as the main identifier for the webservice account you are creating. Click the “Generate” button to get an unique authentication key.
*** Hang on to the Key. You will need this to plug into your OMS later in the Channel Automation view.
- Key description – Helps you remember who you created that key for, what are the access rights assigned to it, etc.
- Status – Determines whether this key is currently active.
- Permissions – This section is very important, as it enables you to assign rights for each resource you want to make available to this key.
*** Under the Permissions section please check the following resources under each column either – View (GET) or Modify (GET)
- View (GET) column: addresses, carriers, carts, categories, combinations, configurations. contacts, currencies, countries, customer_messages, customer_threads, customers, deliveries, all fields starting with order_, orders, all fields starting with product_, products, shops, states, all fields starting with stock_, stocks, tax_rule_groups, tax_rules, taxes, warehouses, weight_ranges, zones.
- Modify (PUT) column: order_details, orders, products, stock_available
- Shop association – This only appears in multistore mode. It enables you to choose which of your stores the key owner should have access to.
5. Click the Save button on the bottom right.
API Parameters and Setup (Shipedge – OMS)
You can find the integrations set up page under the Shipedge Order Management System (OMS) under
My Account > Preferences > Channel Automation – Click on the Prestashop link on the left of your screen when you get there.
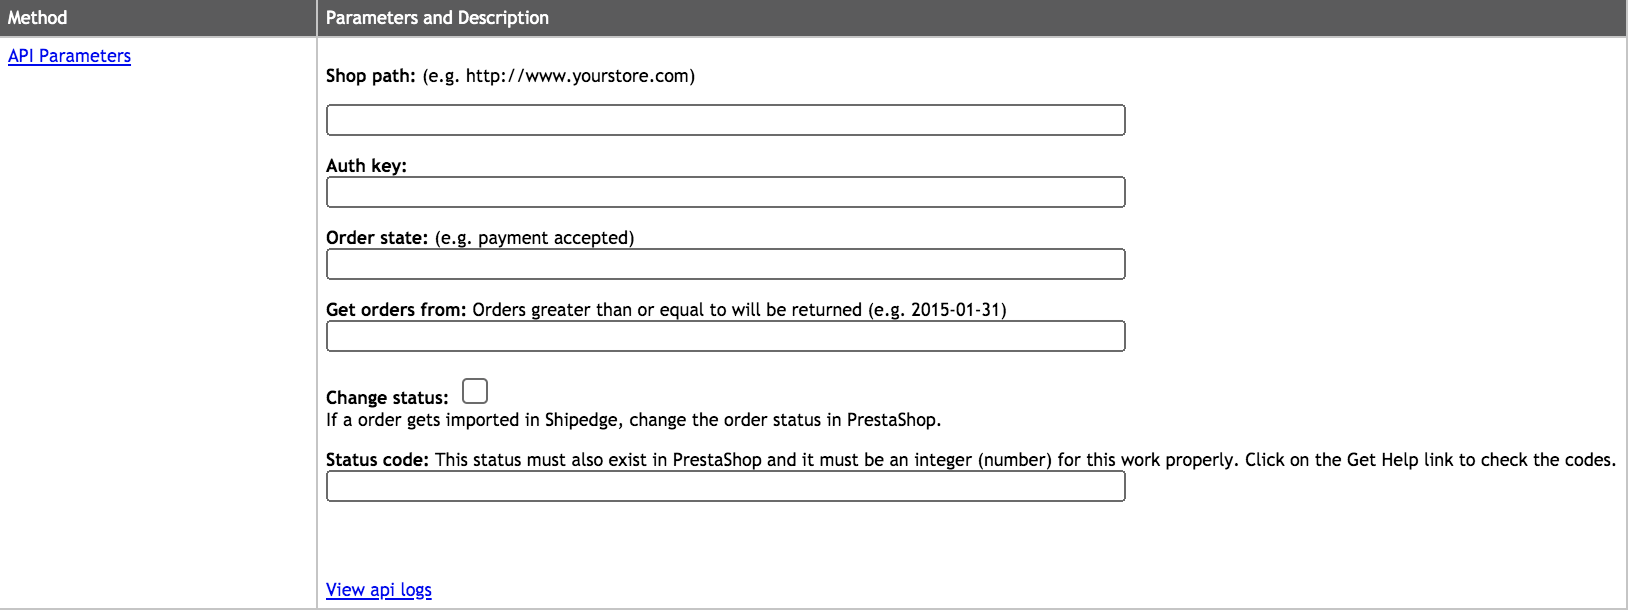
Shop path – This is your store URL.
Auth key – You got this API key above when you generated your webservice key.
Order state – Orders will be imported into Shipedge only when they reach this order state. The most common setup is to import orders in a “payment accepted” state but some prestashop stores may have custom statuses.
Get orders from – What initial date you would like to start pulling orders.
Change status – When orders import we will change the order status after it has been pulled into Shipedge.
Status code – *only use if “Change status” box is checked determines what order state to change to when orders imported into Shipedge.