New Edit SKU View
Adding a new SKU Workflow
In this article, we are going to show you the new features the SKU page has.
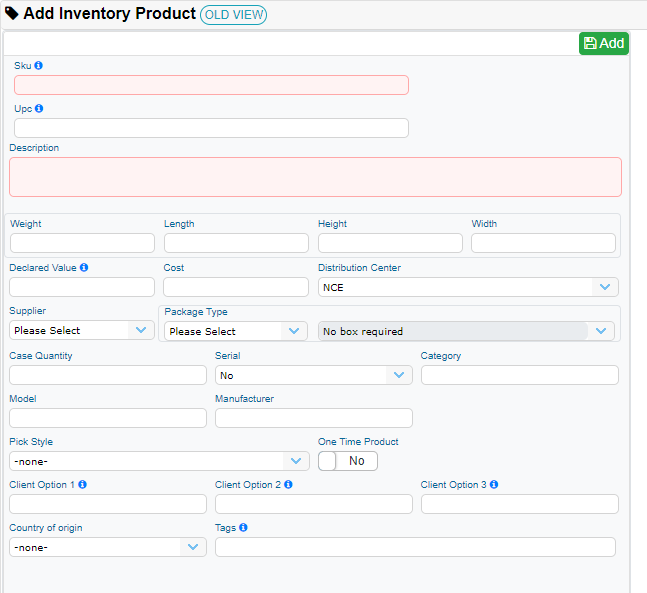
In the OMS system navigate to your Inventory tab then select Add an SKU. This form will look like this.

The red fields mean that those have to be filled with the corresponding information that cannot be blank.
Once the SKU is created a new view has also been implemented to edit this SKU.

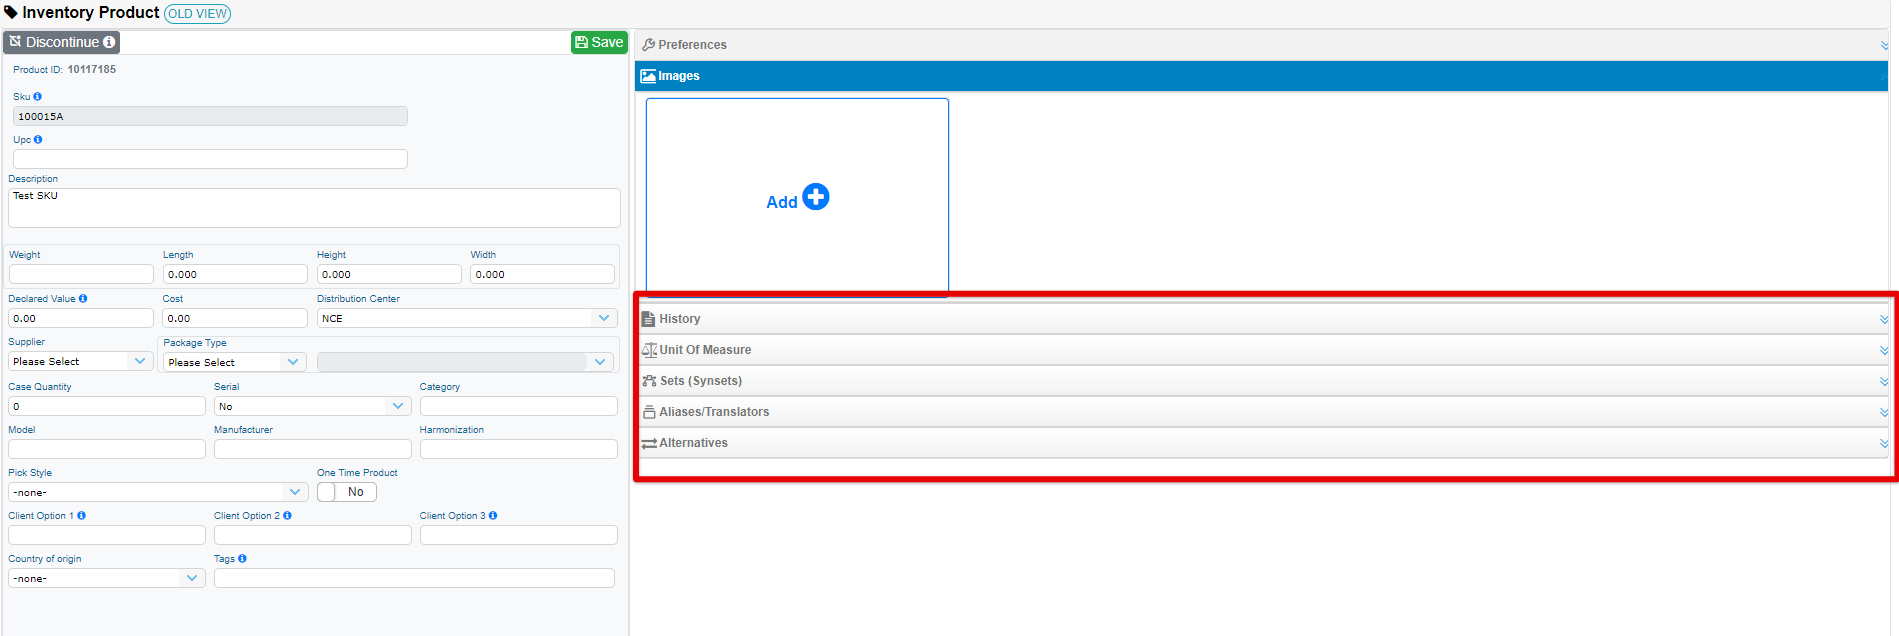
You can click on the SKU name and you will get the following view.

The left form is the same as the one you saw when creating a new SKU. On the right, you can add SKU images. Marked in the red square you can find several options Preferences, History, Unit Of Measure (UOM), Sets(Synsets), Aliases and Translators, and Alternatives.
You can upload images, to the SKU and set up a default image, one image you can identify the SKU
Each of those options shows the information related to the SKU.
You can upload images only when editing the SKU.
Deleting or Discontinuing a SKU
In order to delete or discontinue a SKU some criteria have to be met.
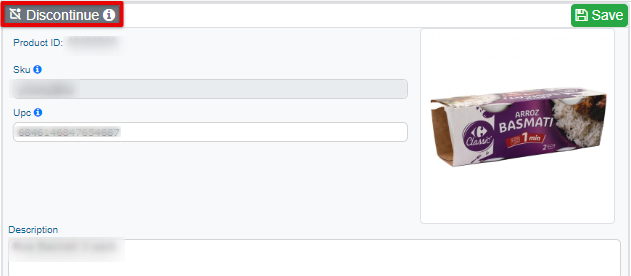
In the top right corner of the edit view in the SKU panel, you will see an option called Discontinue.

Once you click on this option a new dialog box will pop up. Validating if the SKU meets the criteria to be discontinued.
You can check this new window.

As you can see not all criteria is met. All fields should be in green. Only in that case this SKU would be considered to be discontinued or deleted.
